
Level: Easy/ Beginner
You can find an ad-free PDF downloadable version of this pattern HERE
If you need any help with this pattern, please feel free to message my Etsy shop, DM me on Instagram @crochetbycolleen OR e-mail me crochetbycolleenUS@gmail.com
This pattern is available for personal use only. You cannot share or sell this written pattern. You can sell your own camping appliqués but please tag @crochetbycolleen for design credit. Thank you so much for your cooperation!
PLEASE share your makes with me on Instagram! I love to see and share what YOU are making so be sure to tag @crochetbycolleen
YOU WILL NEED
-
I use 4-medium weight yarn for all the appliqués in this pattern. You will need one skein of each color or just use scraps that you have around. Some parts I use two strands of yarn on the hook at the same time, requiring a 6.5mm hook.
-
Colors you’ll need for the flower cart: tan, black, white, light gray, green, and your flower colors, I used two different pinks, blue, coral and mustard yellow.
-
A hot glue gun and glue sticks
-
Tapestry needle
-
Felt for backing (optional)

All items linked here:


The stitches/ skills you will need to know and KEY:
-
Chain (ch)
-
Slip Stitch (sl st)
-
Single crochet (sc)
-
Half double crochet (hdc)
-
Double crochet (dc)
-
Triple crochet (tr)
-
Increase (inc)
-
Decrease (dec)
-
Weave ends and finish off.
-
Magic loop/ring
-
Back loops only (BLO)
You can check out simple crochet tutorials and how-to’s on my TikTok – crochetbycolleen
Final Dimensions:
8 x 5.5 inches
You can always vary the hook size and yarn size to make your appliqué bigger or smaller.
CROCHET PATTERN
Awning
Make 3 black and 3 white pieces
Take black/white with a 5mm hook and chain 9
Sc in the second chain from the hook, sc in every chain until the end, add two more sc in the last chain and now you will be working up the other side of the chain,
Sc in every stitch, put just one sc into the first chain, finish off and weave ends. Where you started and finished the awning pieces is considered the top of the awning.
Top of awning: With 1 strand of back and 5mm hook, chain 16
Hdc in the third chain from the hook, hdc across the rest of the chains finish off and weave ends. [14]
Cart
With two strands of tan on a 6.5 mm hook, chain 12
Row 1: sc in the second chain from the hook, sc across [11]
Row 2-4: sc across [11] Finish off and weave ends.
Attach two strands of yarn with a 6.5 hook to the end of row 4 with a sl st. Chain up 11, finish off and weave ends. Repeat on the other side of row 4.

Kick Stand
With one strand of tan on a 5mm hook, chain 7
Make 1 hdc in the third chain from the hook, hdc across [5]
Finish off and weave ends.
Wheel
With one strand of white on a 5mm hook, make a magic ring.
Round 1: Work 6 sc into ring – 6 sc. Do not join, continue in a spiral.
Round 2: (2 sc) in each st — 12 sc
Round 3: Switch to black [(2 sc) in next sc, sc in next sc]— 18 sts Finish off and weave ends.
Take a long piece of black yarn and a tapestry needle. Insert through the center and through round 3 five times evenly around as the spokes on the wheel.
Flowers
Buckets
With one strand of gray on a 5mm hook, chain 5
Row 1: Sc in the second chain from the hook, sc across [4]
Row 2: sc across [4]
Row 3: Switch to green and sc across in the BLO [4]
Finish off and weave ends.
Repeat this bucket two more times for a total of three SHORT buckets.
Make two TALL buckets by adding two more rows of gray.
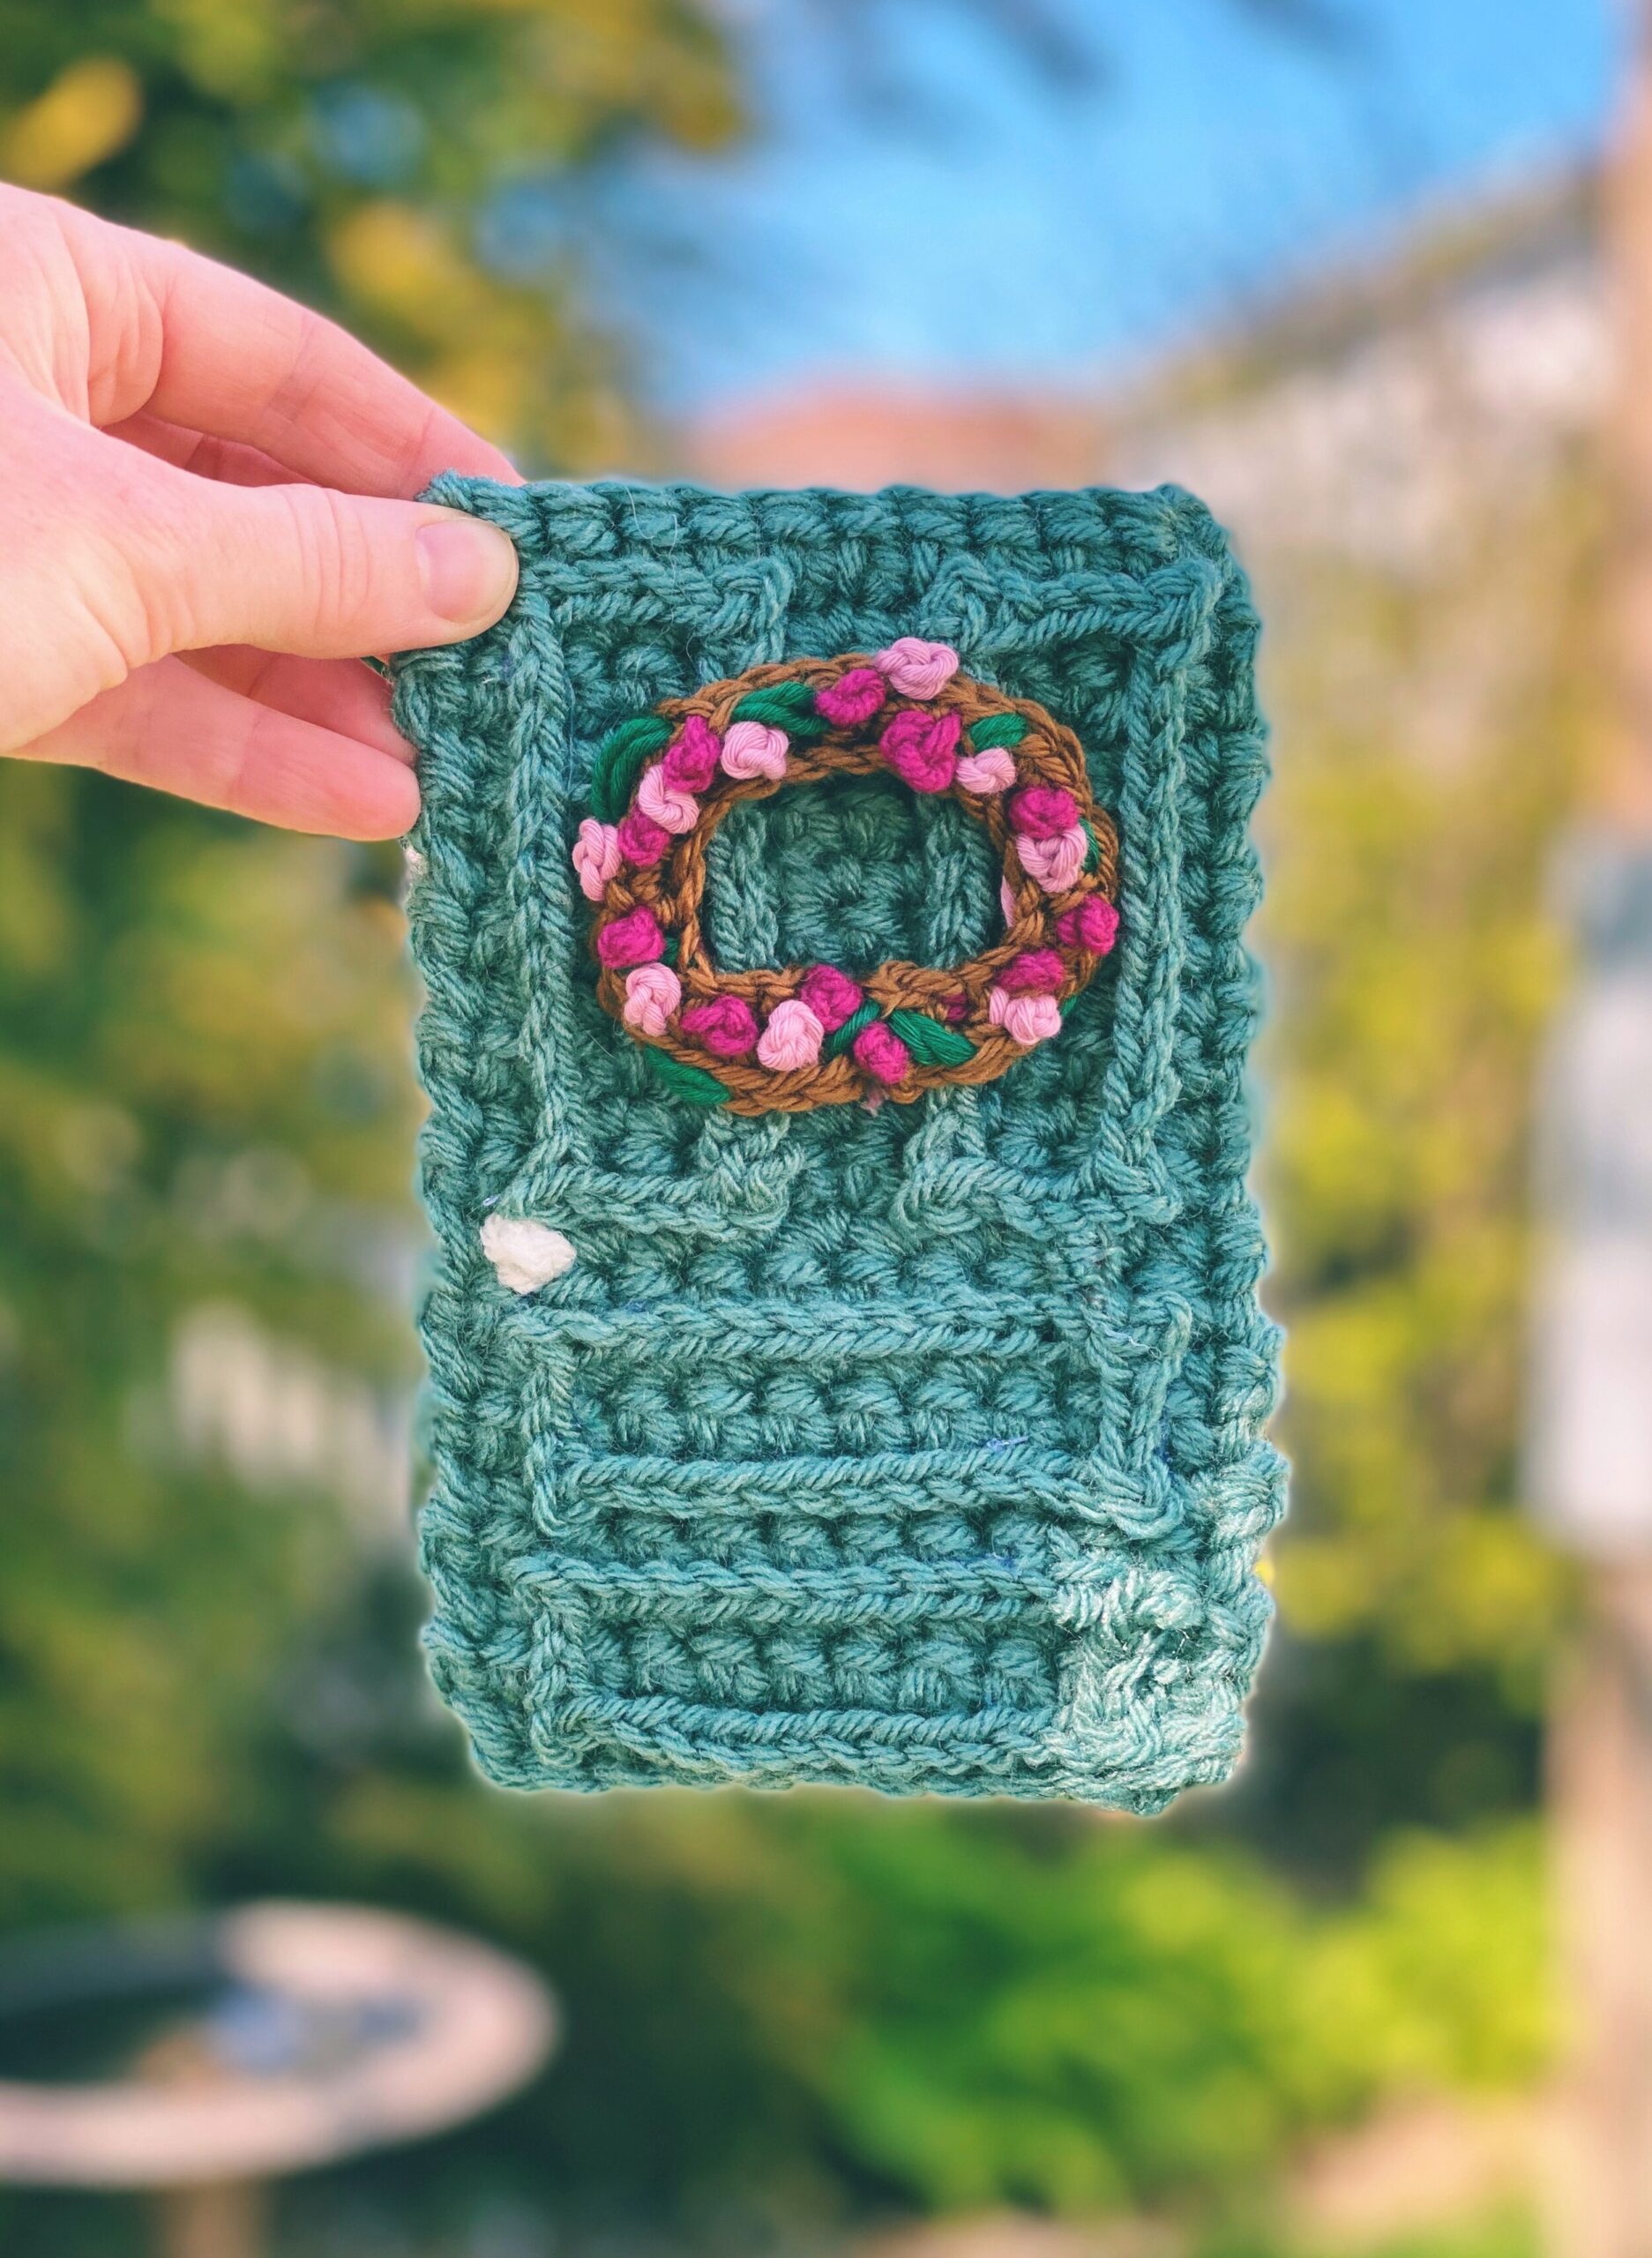
For the flowers make various french knots across the green.
French knot: Make a knot at one end of the strand of yarn and place the needle on the other end.Insert the needle from the back of the work to the front, wrap the yarn around the needle twice, insert the needle right next to the spot that it is being pulled up from the door and carefully pull through to the back.


Assembly
Either glue the pieces directly to the object you want it to be on. I knew I wanted mine on a tote bag so I assembled it directly to the bag. However, I could have also assembled it onto felt and then cut it out making it a sturdy piece to either hang as a decoration or attach to something else like a blanket, jacket or card.
I put the cart down first leave a space at the top of the cart to slip the flower buckets into. Then I glued the flower buckets.
Next line up the awning pieces side by side. Place the awning top along the top of the pieces.
Use the photo as a guide for gluing the wheel and kickstand.
Thank you so much for reading! If you have any questions let me know!

Happy crocheting!


