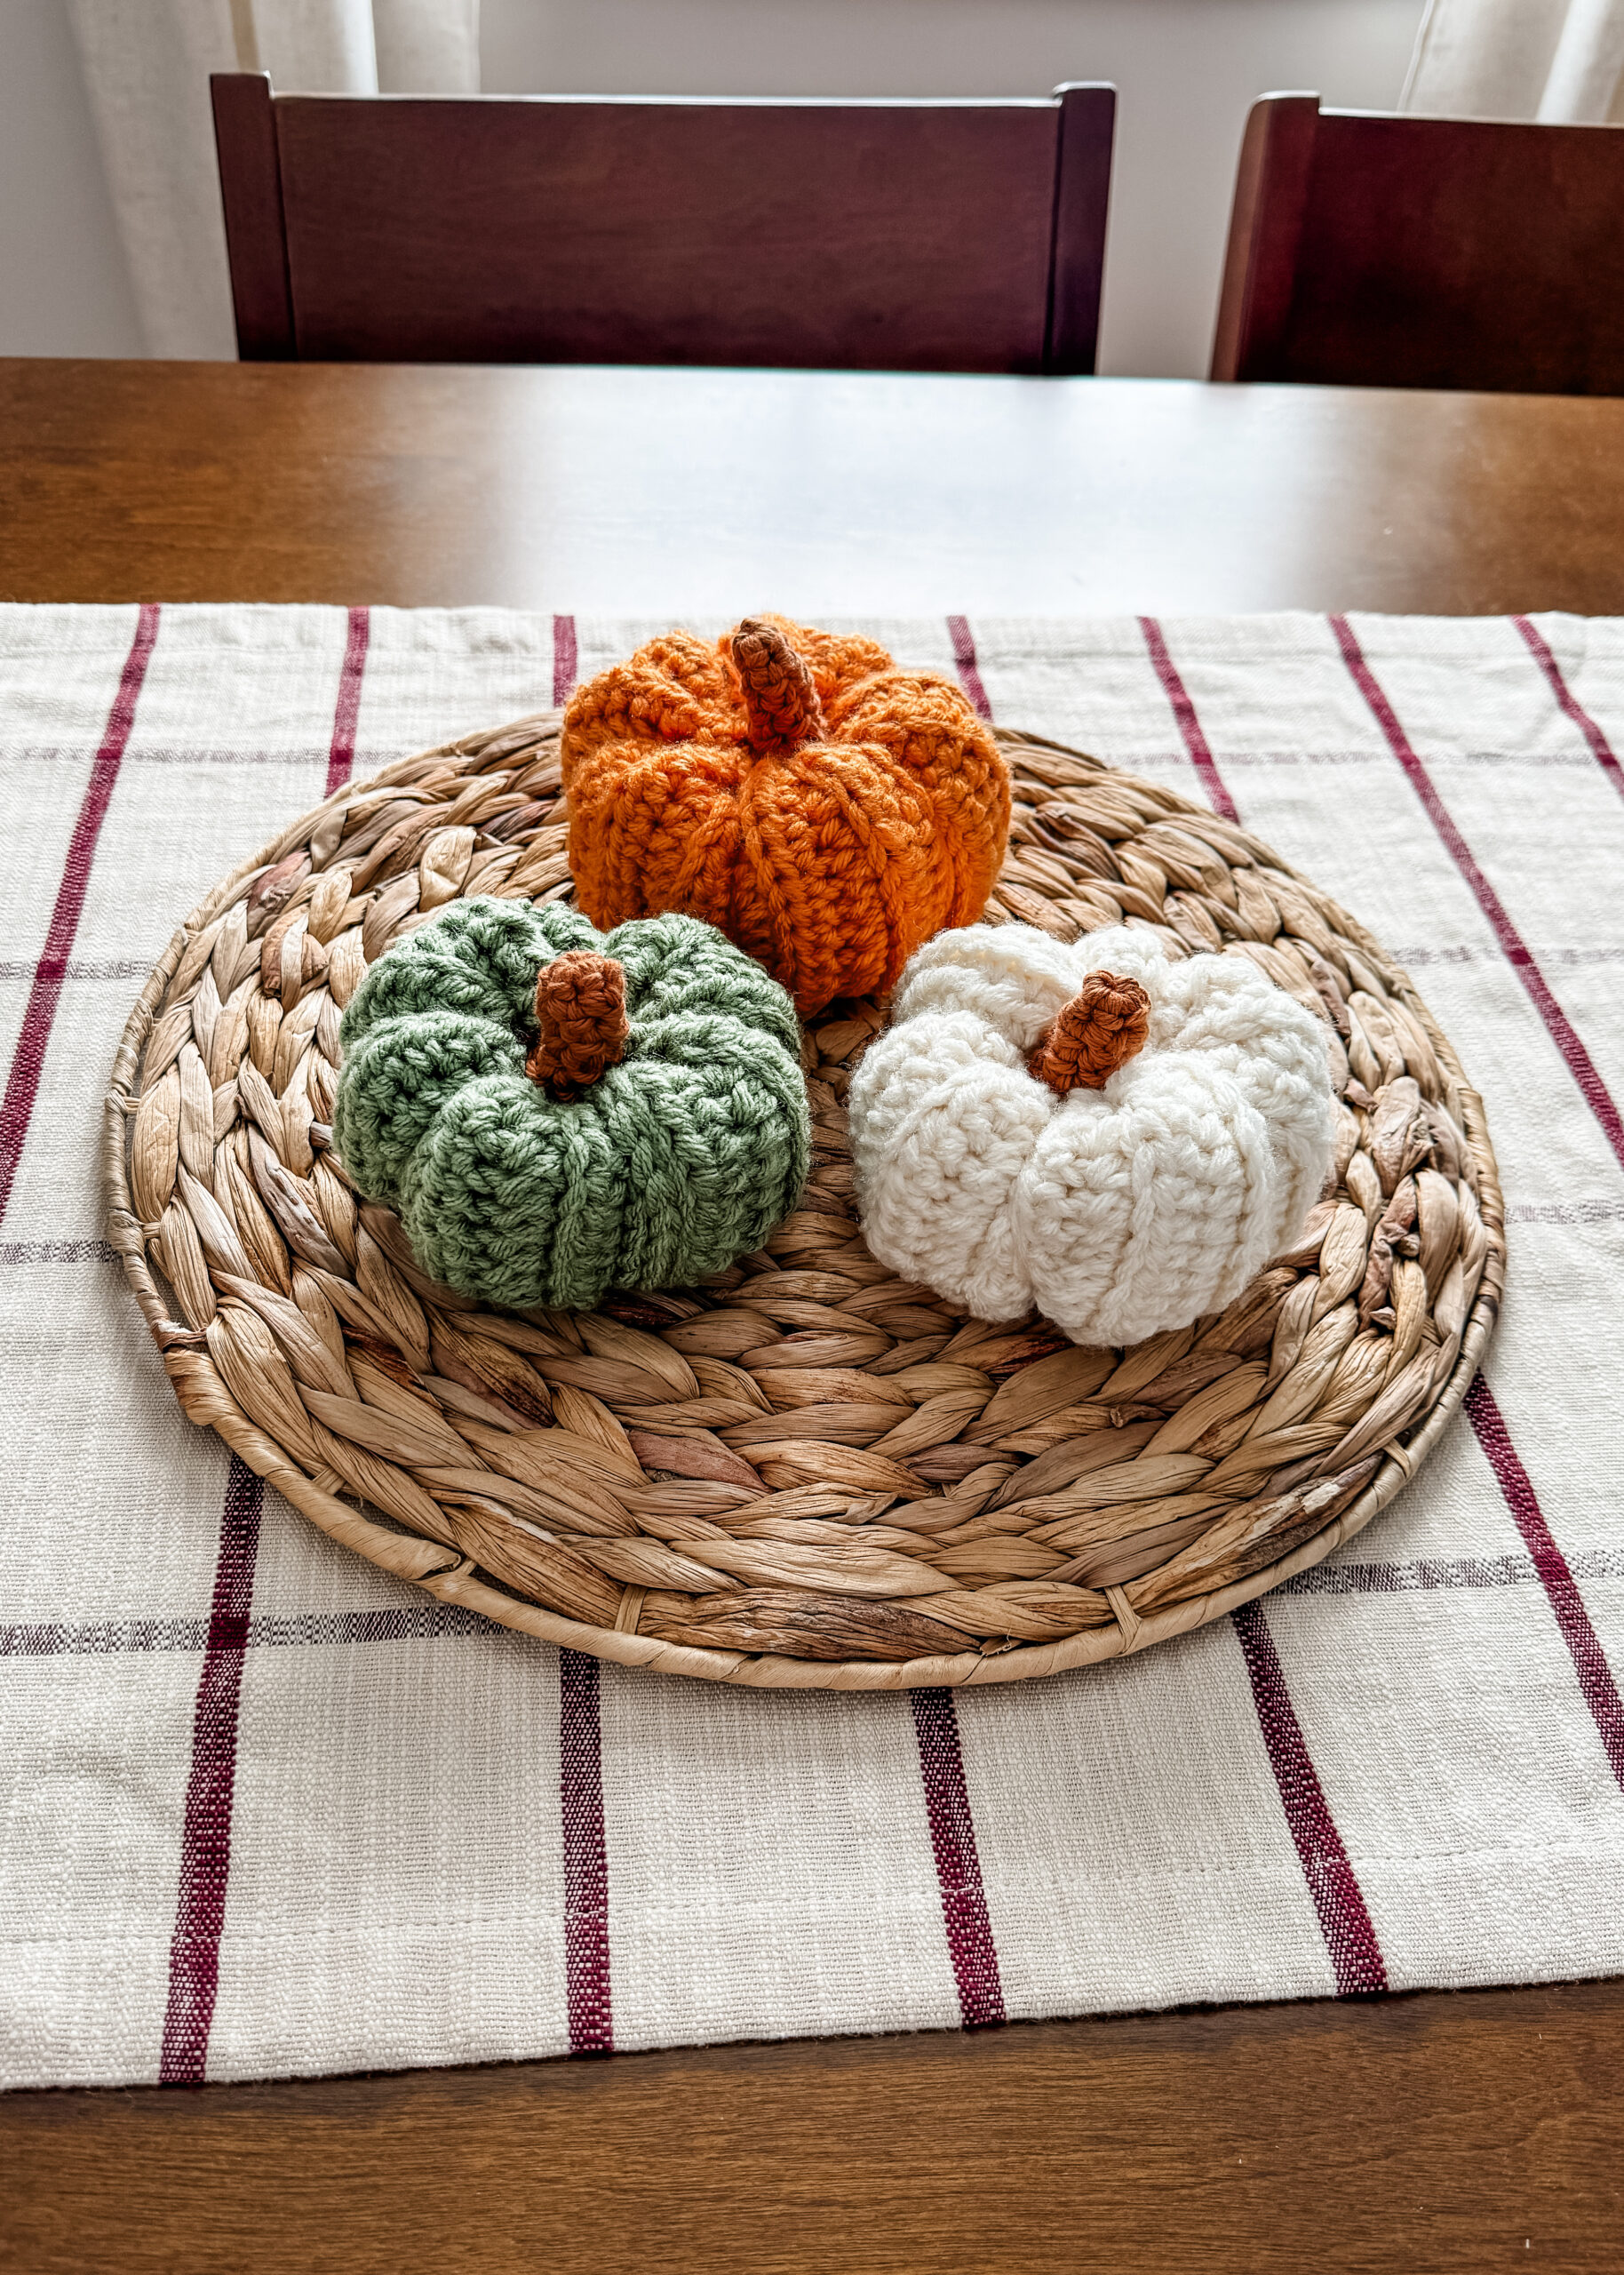
Fall is officially here, and with it comes the cozy charm of seasonal decor! There’s just something magical about creating handmade items that add a personal touch to your home. In today’s post, I’m excited to share one of my favorite autumn projects—a crochet pumpkin pattern that’s perfect for beginners and seasoned crocheters alike. Whether you’re looking to spruce up your space or gift a cute piece of fall decor, these little pumpkins are a fun, simple, and relaxing way to embrace the season. Plus, I’ve included a step-by-step video tutorial to help guide you through each stitch!
Grab your yarn and hook, and let’s dive into this cozy fall craft together!
Stitches you’ll need to know:
Sl st: slip stitch
Hdc: half double crochet
Materials Needed:
4 medium weight yarn in whatever pumpkin color you want and brown for the stump – I like “I love this yarn from hobby lobby” HERE
Tapestry Needle
6.5mm crochet hook
Watch the full video tutorial HERE
To make the pumpkins in slightly different sizes here are the written instructions for the three pumpkins I’ve made:
Pattern:
Large Pumpkin:
With two strands on a 6.5mm hook, chain 20
Row 1: Hdc in the 3rd chain from the hook, hdc across (18 hdc)
Row 2- 24 : hdc across (18hdc)
Follow the video HERE for the rest of the instructions
Medium Pumpkin:
With two strands on a 6.5mm hook, chain 18
Row 1: Hdc in the 3rd chain from the hook, hdc across (16 hdc)
Row 2- 21 : hdc across (16 hdc)
Follow the video HERE for the rest of the instructions
Small Pumpkin:
With two strands on a 6.5mm hook, chain 16
Row 1: Hdc in the 3rd chain from the hook, hdc across (14 hdc)
Row 2- 19: hdc across (14 hdc)
Follow the video HERE for the rest of the instructions

